swood Box
September 17th, 2016 (9th grade)
swood is a cool piece of software, but it’s not too user-friendly: it’s a Python package invoked from the command line. I wanted to build something I could take to Maker Faire that would let anybody use swood. More importantly, I wanted to be able to use swood live: instead of rendering a premade MIDI, to plug in a MIDI instrument such as a keyboard and play live with samples, like you can with the Casio SK-5. Specifically, I wanted a box with a MIDI in and audio out that had all the capabilities of swood itself.
Design
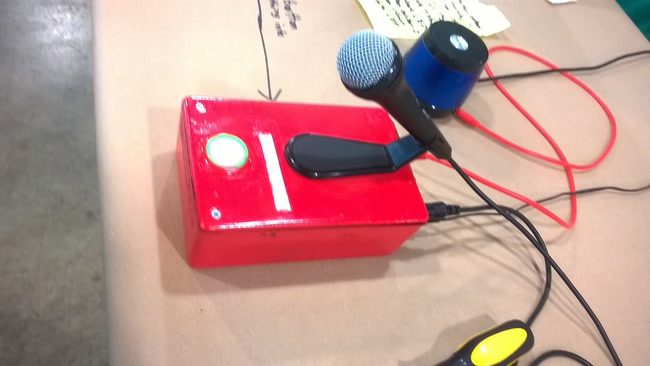
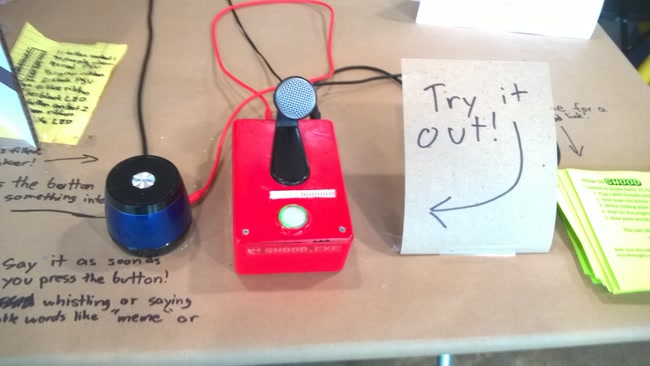
I set to work on a box not entirely unlike a guitar pedal or intercom: hold down a button, record a sound with a built-in microphone, and play music using that sound. I bought a tiny microphone (practically a toy) from RadioShack (RIP) and gutted it to replace its element with one from a real microphone. I installed a felt base on the microphone stand to hide the magnets sticking it onto the top of the case. I also got a tri-color LED bar graph from Adafruit for several reasons: first of all, every hacker project needs LEDs; it’s a fact of life. Second, swood was rather slow on the Raspberry Pi in the box. It’s written partly in Python, of course, but the main bottleneck, manipulating the sound samples, was SIMD-optimized on x86 but not on the Pi’s paltry processor (an ARM, with a totally different SIMD extension called NEON). I used the LED graph as visual feedback for the state of the device (ready to record, recording, current volume, etc.) including a loading bar. When not doing anything else, it would display cool idle animations like counting in quaternary or slides & PWM fades between colors.
My initial design for the box was a lot smaller; I wanted to cram everything on top of a normal Raspberry Pi case. This was deemed unreasonable when the button & microphone wouldn’t fit on the top, and more importantly, the button was too tall internally for the lid to close. By modelling my design before building it I could discover this flaw beforehand.
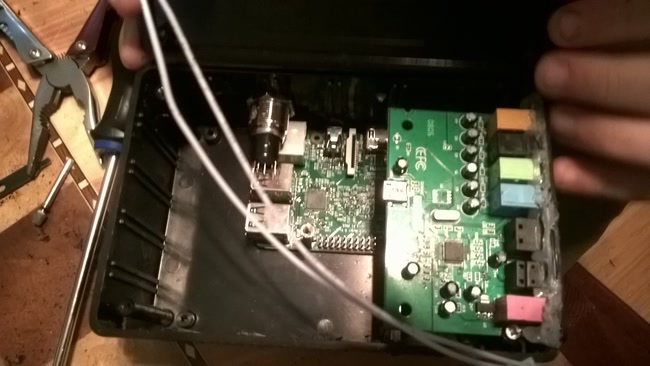
Instead, I used a plastic project enclosure from RadioShack.1 This way I had ample room for a satisfying arcade button for the record button, a reset button, an external (i.e. better) sound card, multiple MIDI ports, a battery, the LED display, and the microphone stand.
Construction
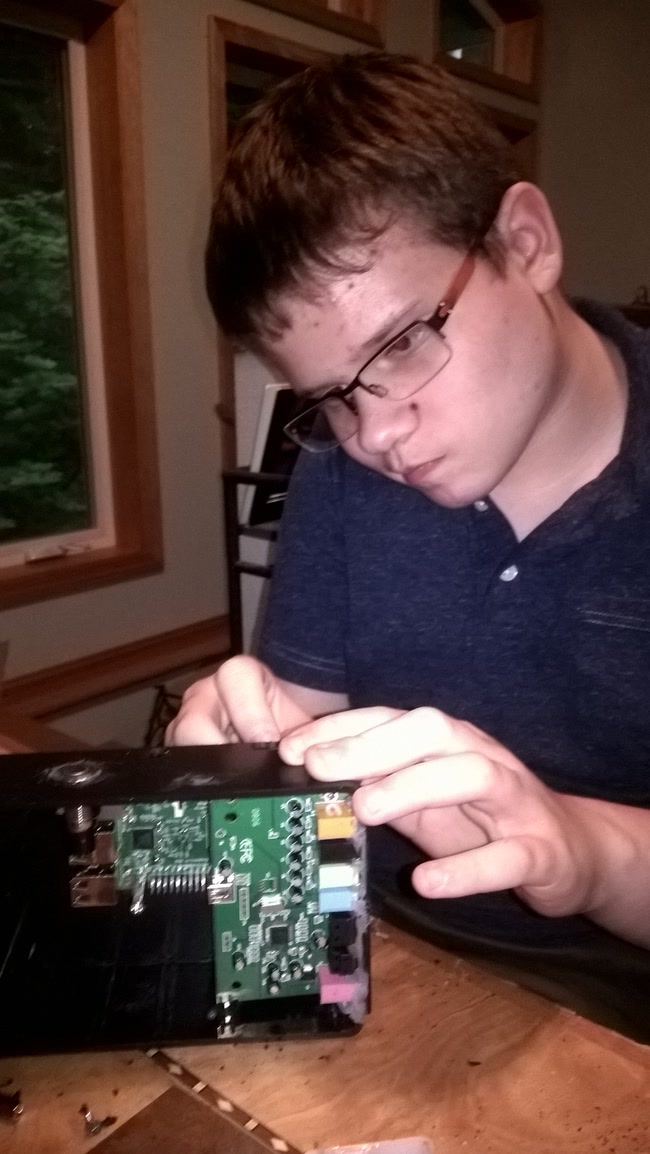
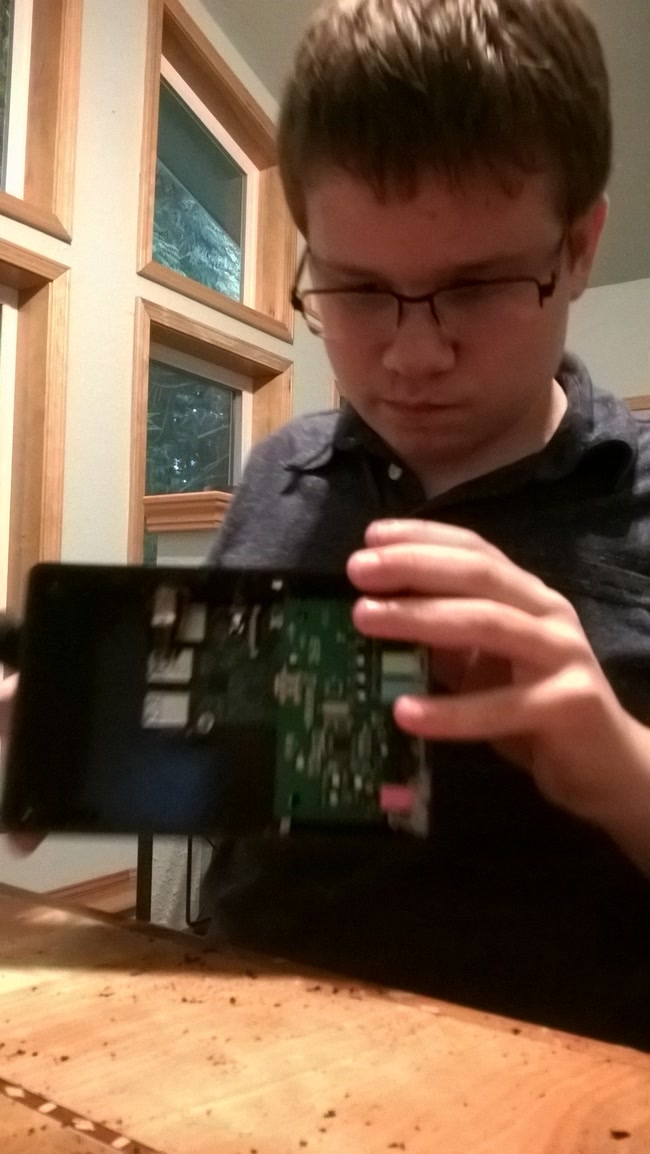
At the time I built this, I didn’t have a 3D printer or any advanced tools to speak of—I had to make sure to Dremel while my mom wasn’t looking! For this reason everything was done “by hand.”
The Pi fit with a lot of space left over, but I wanted the finish to be flawless. I made sure all the mounting screws, etc. were flush with the bottom of the case.
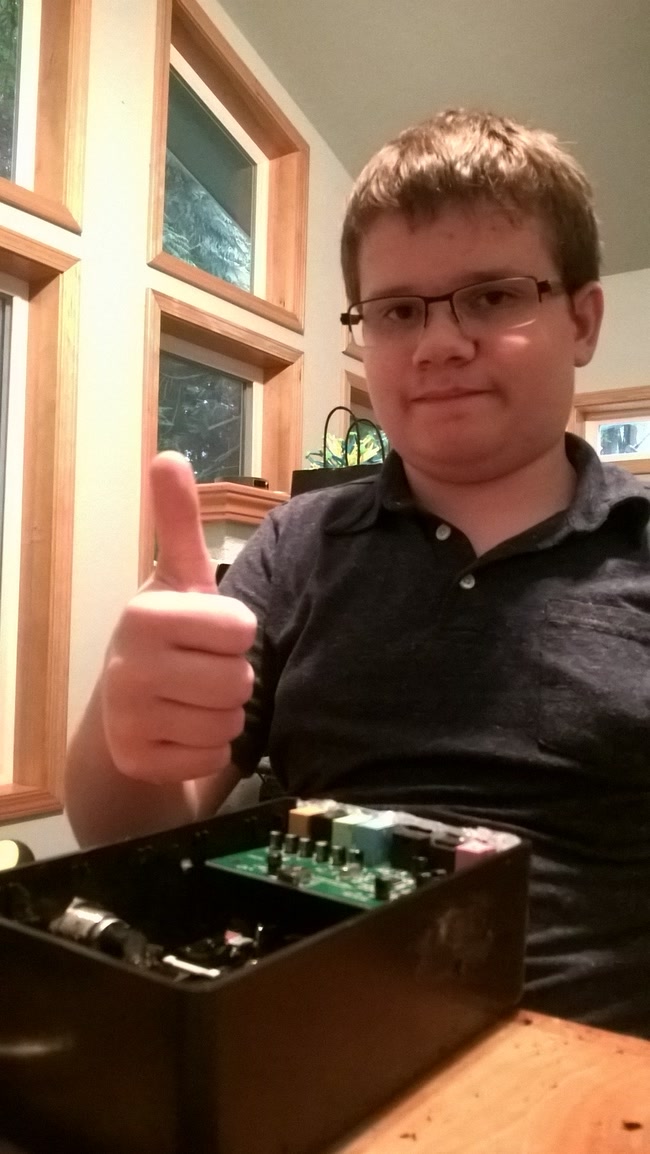
The assembly was relatively easy.
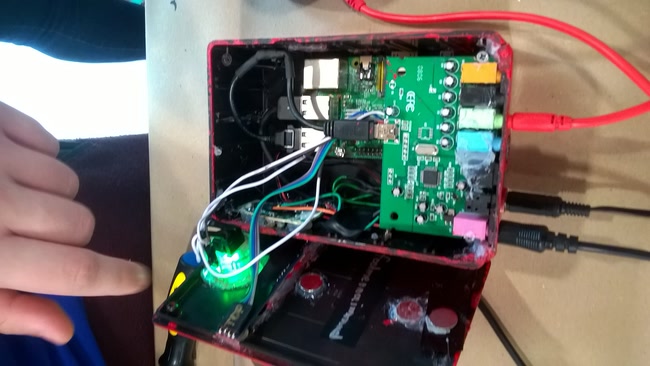
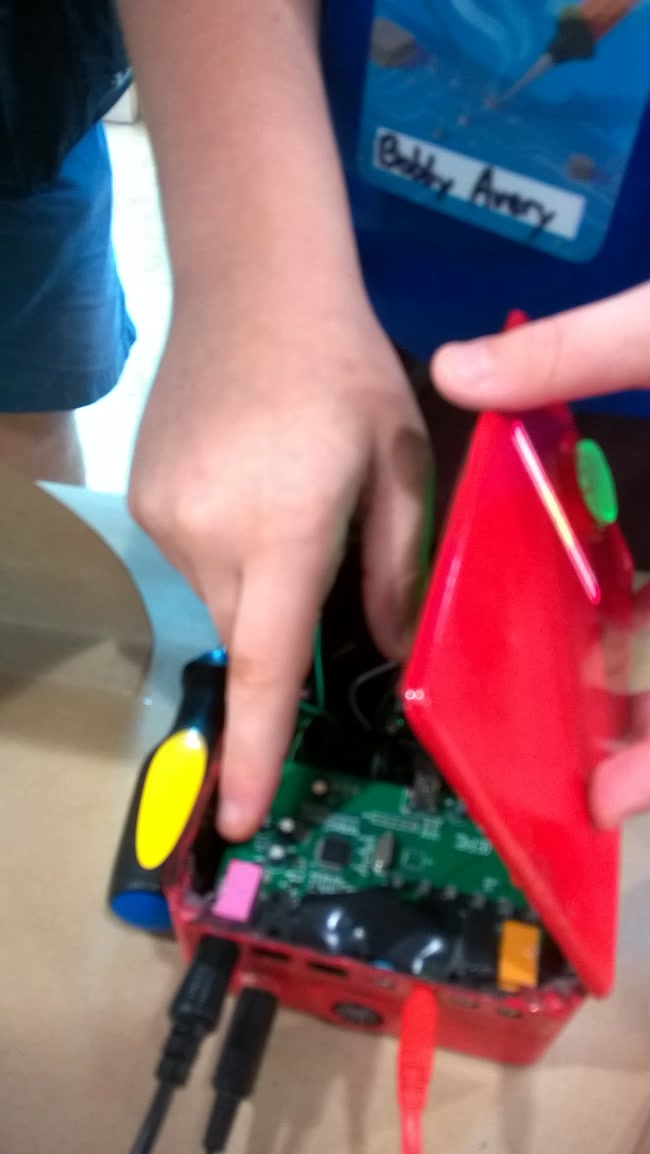
Here is the inside of the finished (save for painting) box, excluding the lid with the record button, magnets, and bar graph.
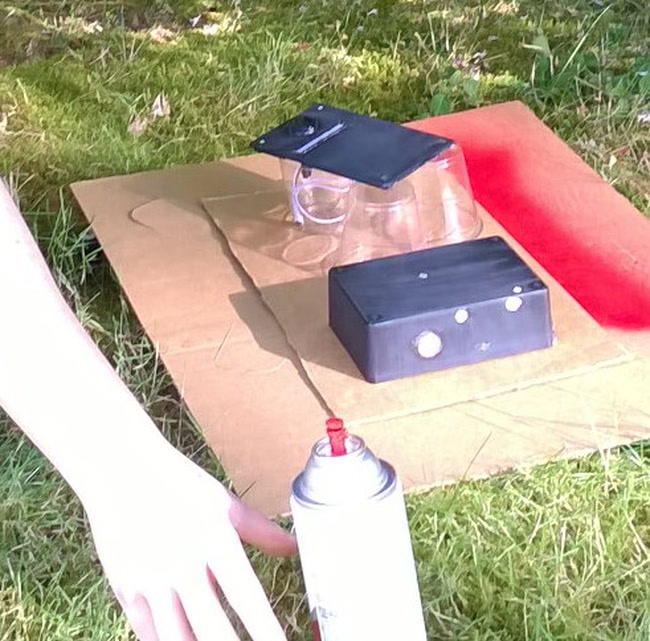
Painting and applying decals may have been the hardest part of this project. I even had to sand down & repaint the box because of my poor spray-painting technique. Then I had to find clear sticker paper and reprint lots of times to match the color of the spray paint. (I had a decal with the swood logo and another covering the LED bar graph on the top of the box since I couldn’t effectively mask off every individual LED bar when painting.)
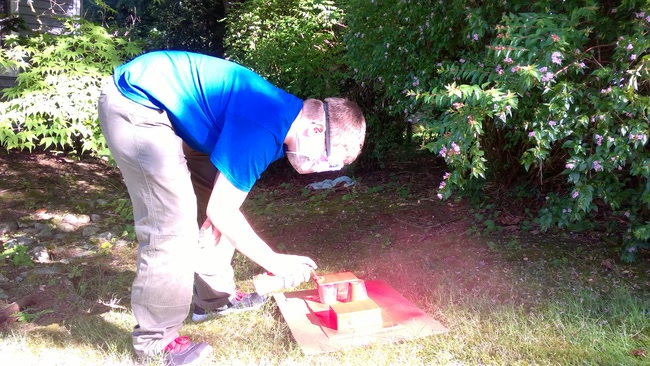
Here I’m painting the box for the first time. Note how I’m holding the spray can a bit too close to the parts I’m painting.
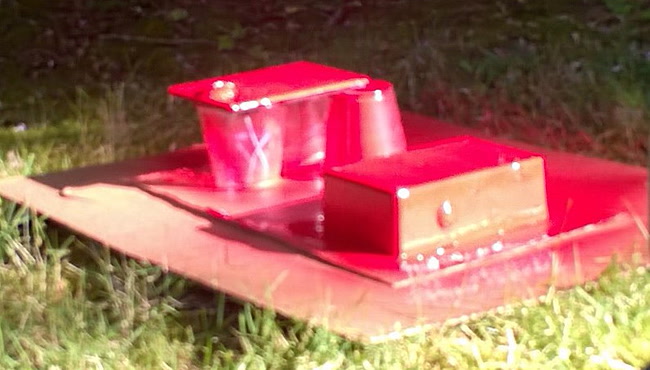
Eventually I got a good finish with glossy red paint. I didn’t dare do a final sealing coat and mess it up again.
Maker Faire
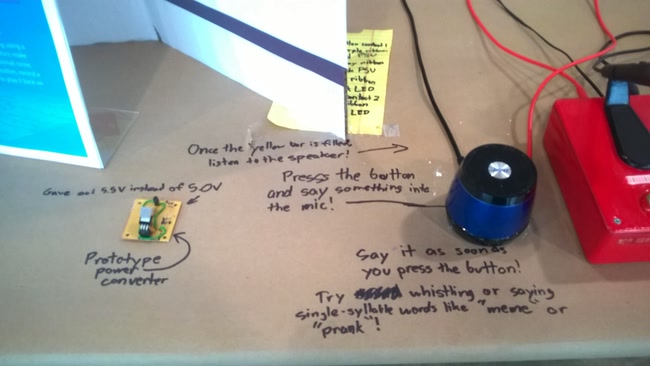
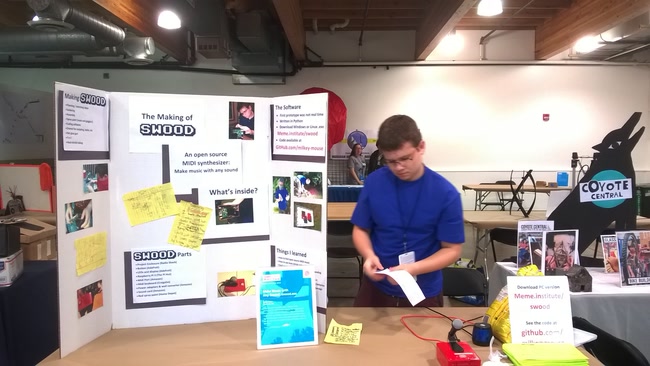
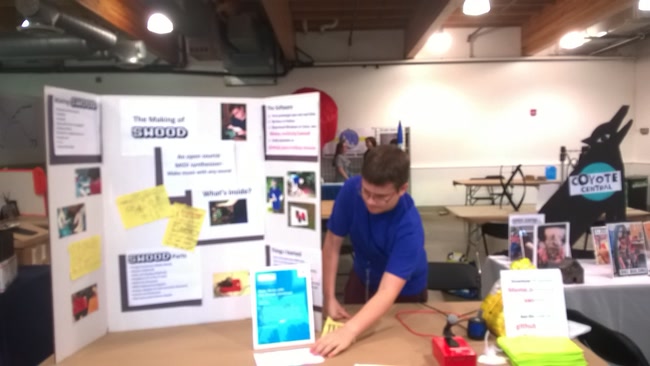
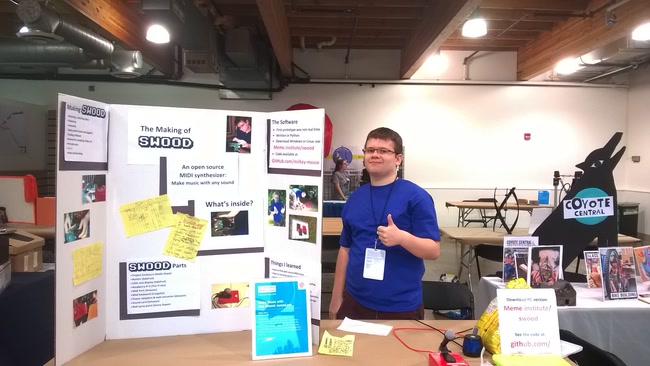
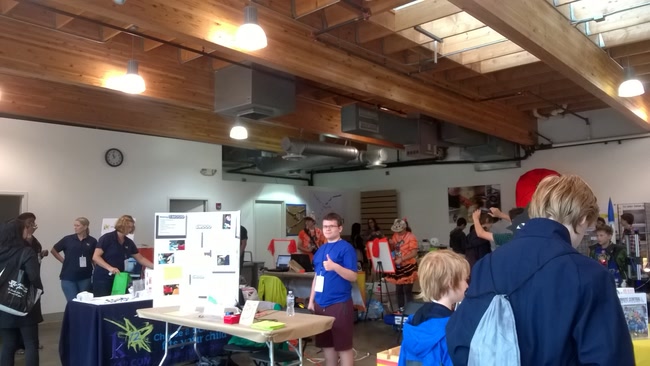
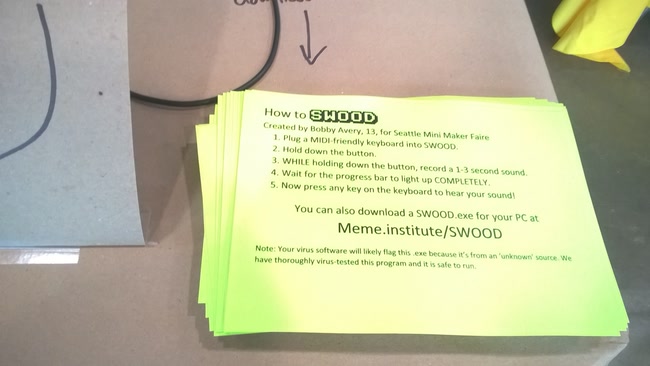
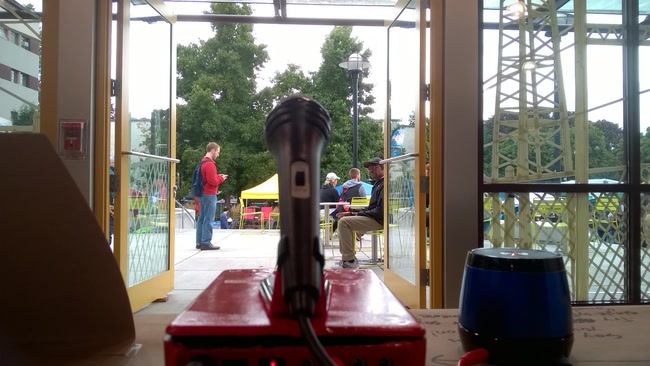
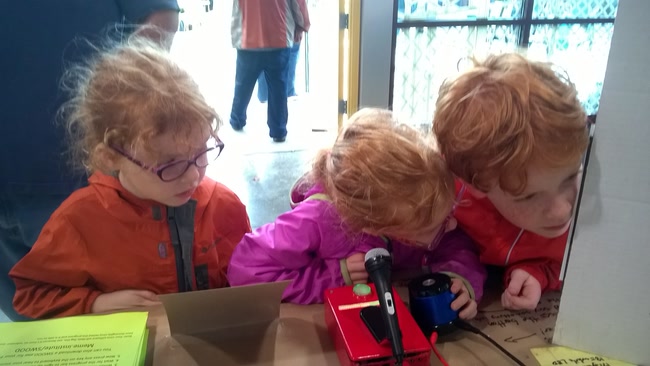
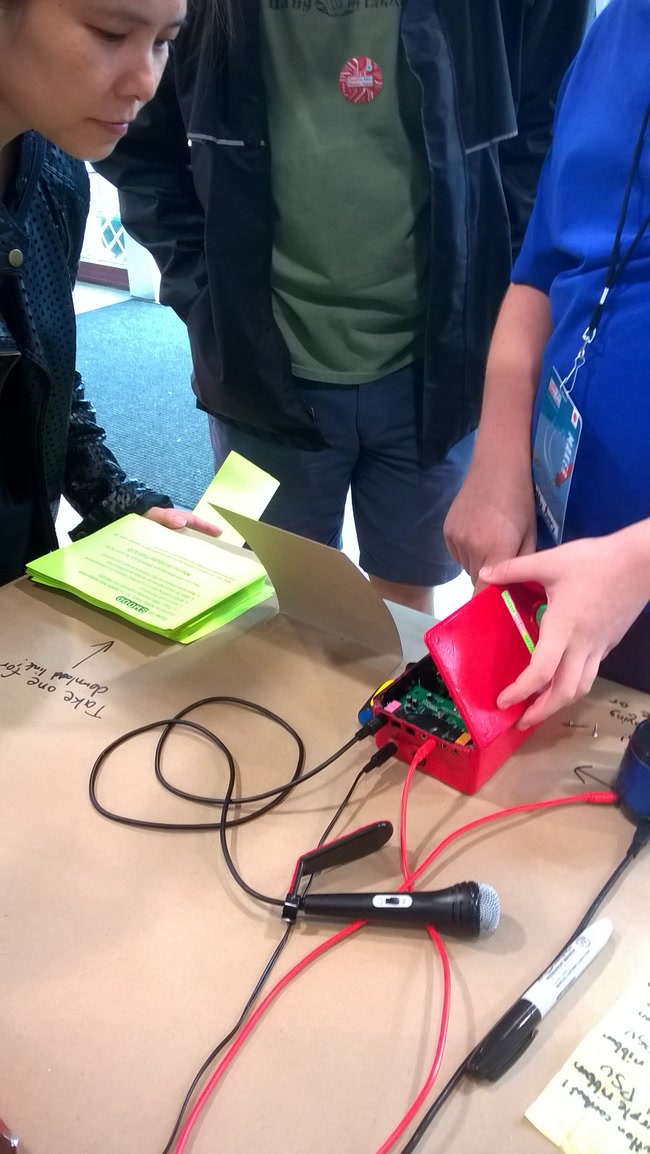
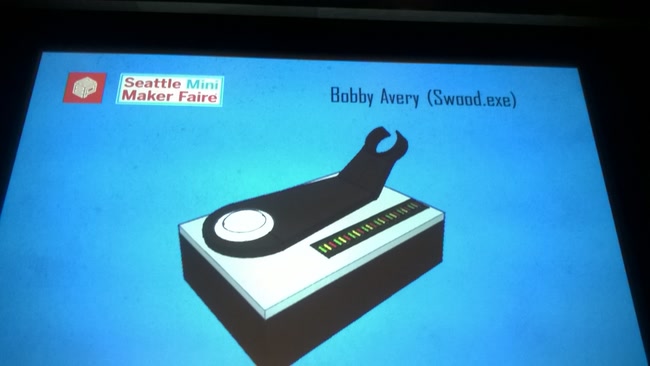
As someone interested in hardware, DIY, programming, and other things that fall under the umbrella of “making,” I was going to Seattle Mini Maker Faire regardless of my project’s acceptance. Eventually I was accepted to present swood at Maker Faire, which was awesome, but put me in a bit of a time crunch. I was making changes to the software & hardware not just down to the last hours before the Faire, but in between days of the event as well.
Fortunately swood already worked pretty well as pure software; my main worries were that something would break in the hardware (I was very careful loading my equipment into and out of the car!) or, even worse, something would go wrong with the “UI” or other code interfacing swood with the buttons, lights, microphone, speaker, and sensors on the device. I had spares for almost every component with me during the Faire, and I even spent some extra time setting up the Raspberry Pi to mount its root filesystem as read-only so in case of a software glitch I could simply pull the plug and turn it off and on again.
I was worried about a Murphy’s Law scenario: anything that could go wrong, would. Ironically after preparing so many contingencies everything went off without a hitch and I brought home my spare parts bin no lighter than when taken in.
Panel
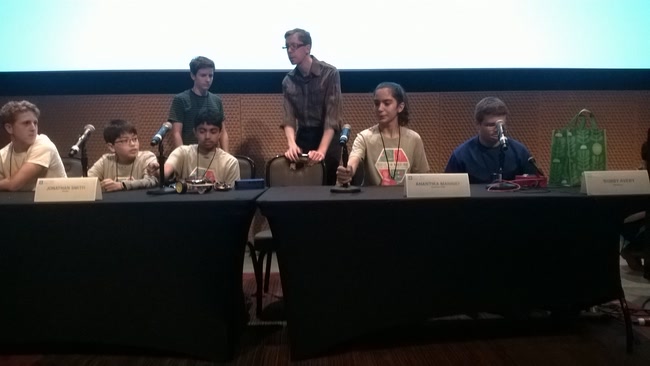
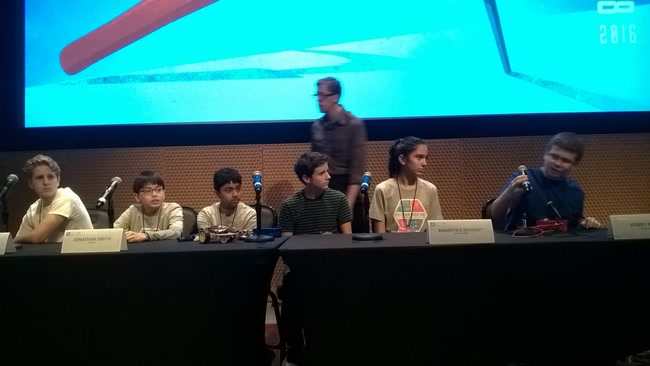
Before Maker Faire, I was contacted by one of the organizers about participating in their Youth Makers panel. I said yes, and I got to show off swood in front of a large audience at the EMP. My favorite part of this whole project was when I was answering questions from the audience and a little kid requested an encore with swood. (I obliged, of course.)
When RadioShack was closing, I made sure to buy up all of the plastic project enclosures they had left. I’ve tried to find those cases, or replacements, somewhere else, but none of the others I’ve found have been quite as good as the RadioShack ones. ↩
