DIY Prusa i3
February 12th, 2019 (11th grade)
The Prusa i3 is one of the most popular 3D printers in the world. Just like the early RepRap printers it was based upon, the software, hardware, and assembly instructions are open source. In practice, however, the furthest people go in terms of a DIY i3 is buying Prusa’s kit and following the included instructions. This is only a little cheaper than buying the printer pre-assembled!
I was showing a friend my tiny cheapo Monoprice 3D printer and he mentioned he was planning to buy a Prusa i3 for himself. He was going to buy it preassembled for a whopping $999. I convinced him I could build him the same thing at a discount in a few months. By February I had almost all the parts I needed to order and was simply waiting for a break from school. Fortunately we had a long impromptu break in February when we were snowed in. I wasn’t going to waste this time, so I made do with 90% of the parts I ordered. My glorious week of building robots, drinking hot chocolate, and never leaving the house was only slightly hampered by a bad cold.
I had some stepper motors, linear rails, and leadscrews laying around from a way earlier attempt at building a 3D printer. In 2012 (maybe earlier?) I backed a Kickstarter project for a cheap plywood-based 3D printer, the QU-BD Two Up. The quality was pretty bad, and I never got it printing reliably (neither did many other backers). It was so flimsy I could disassemble it in 15 minutes for the electronic and mechanical components (the “vitamins,” as longtime RepRap enthusiasts would call them). Fortunately these parts were still perfectly usable.
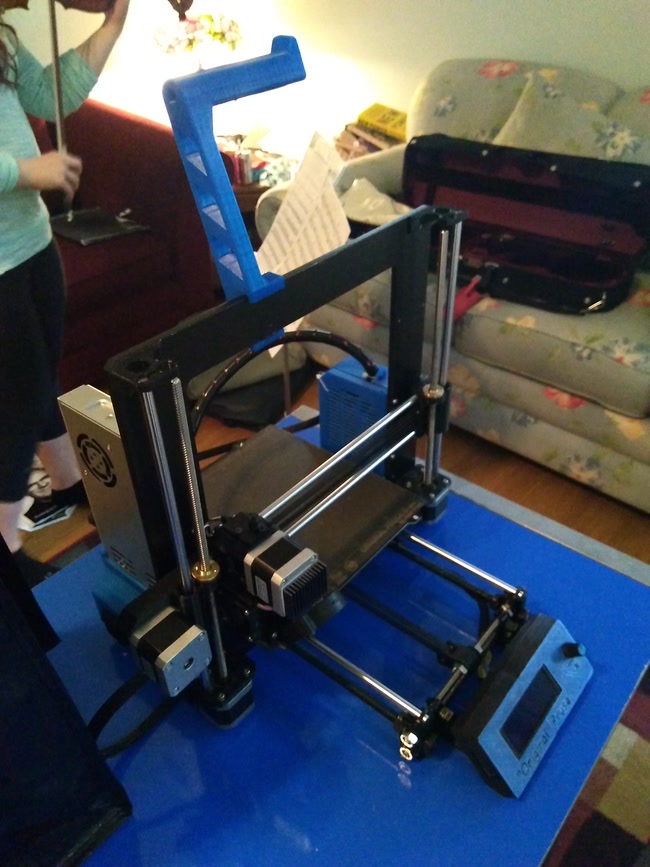
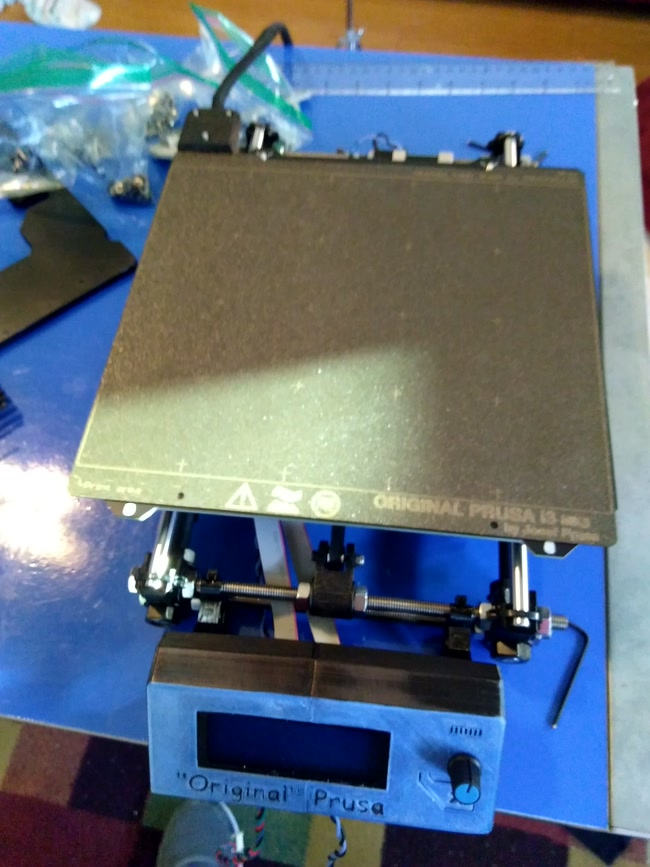
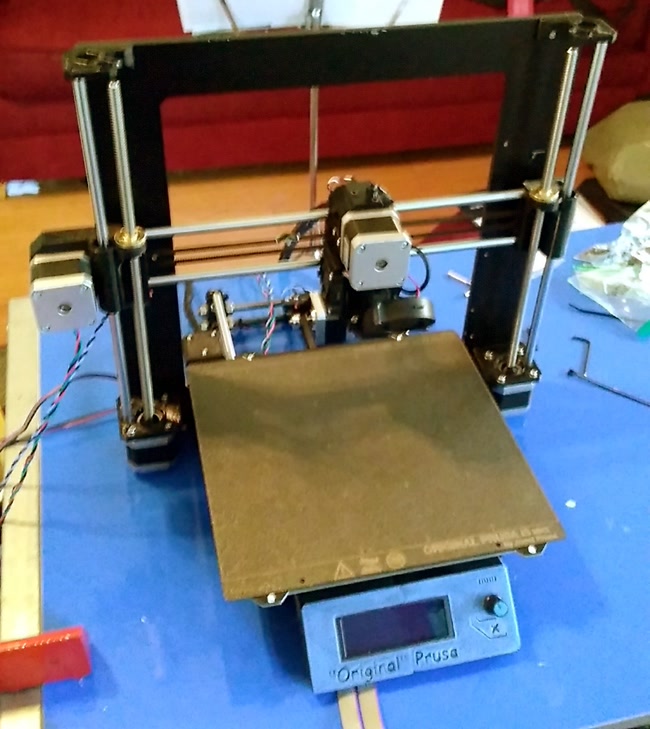
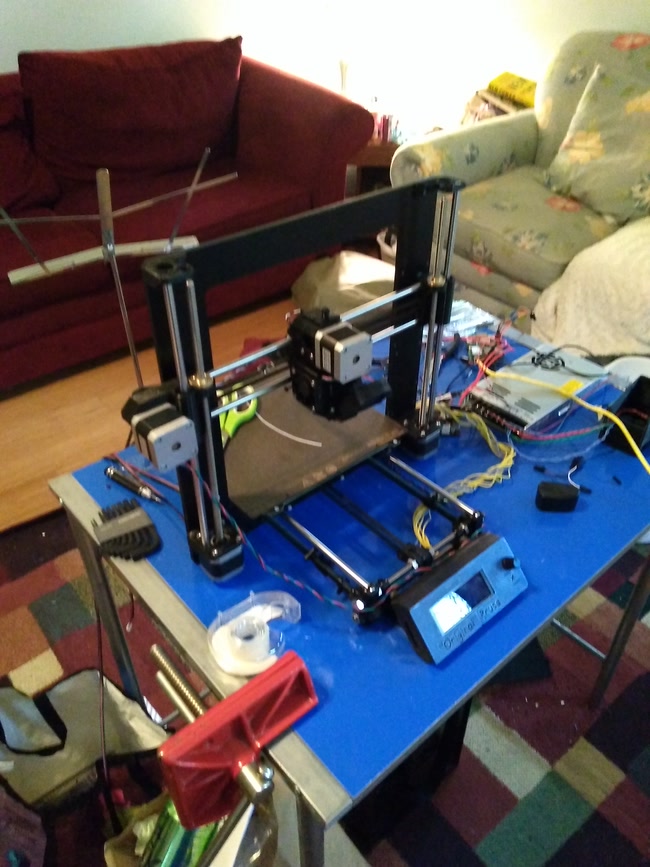
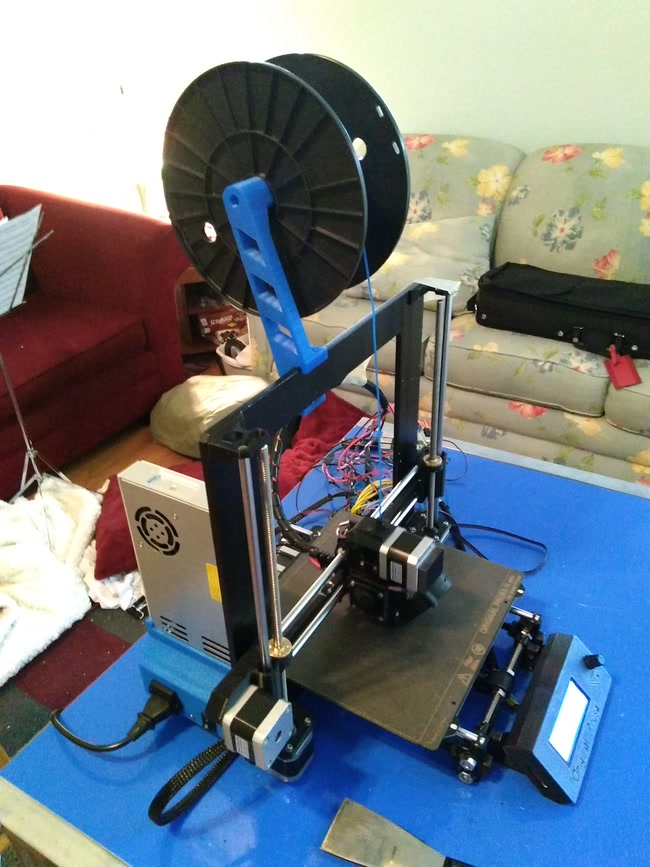
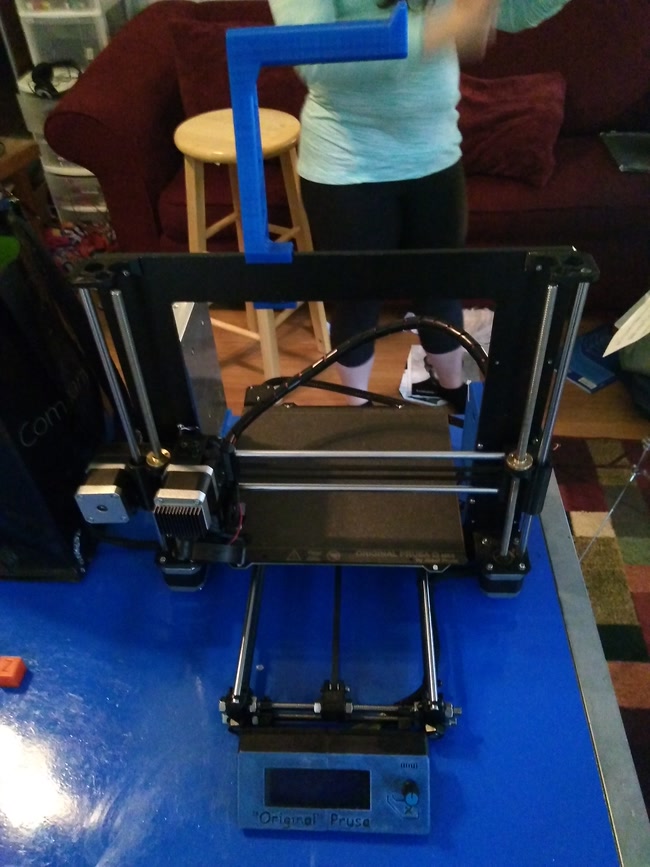
I’m putting the final product first, as is tradition. (Note my sister playing the violin in the background.)
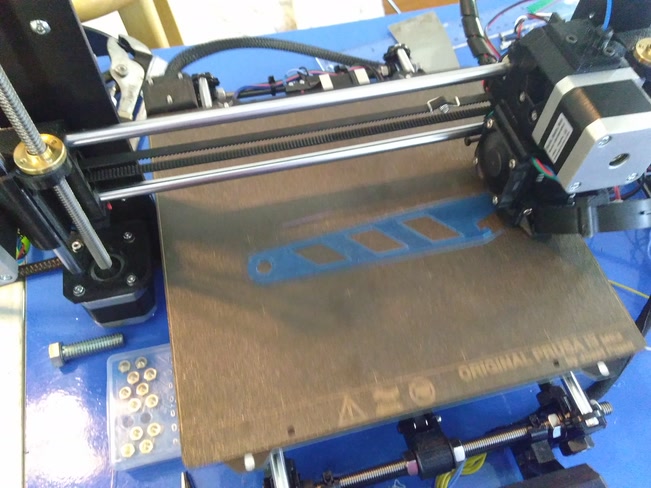
Because I had no kit of 3D printed parts, I used my printer to print each and every plastic part for the i3. (Essentially, I was bootstrapping the i3 from the Monoprice printer.) When I was finished I had around 50 printed parts. While almost everything from the Two-Up was salvageable (mainboard, stepper motors, linear rails, Z-axis linear bearings), I still had to purchase many components from eBay or Amazon.
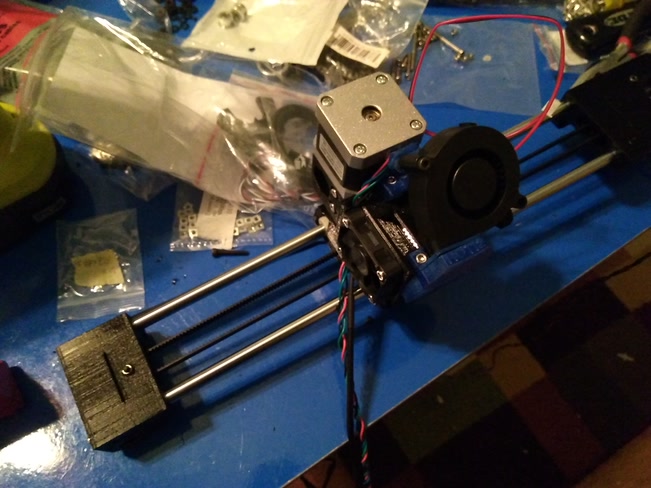
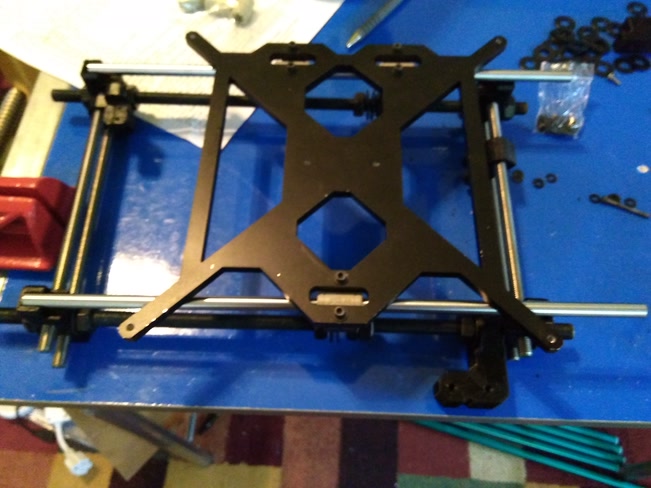
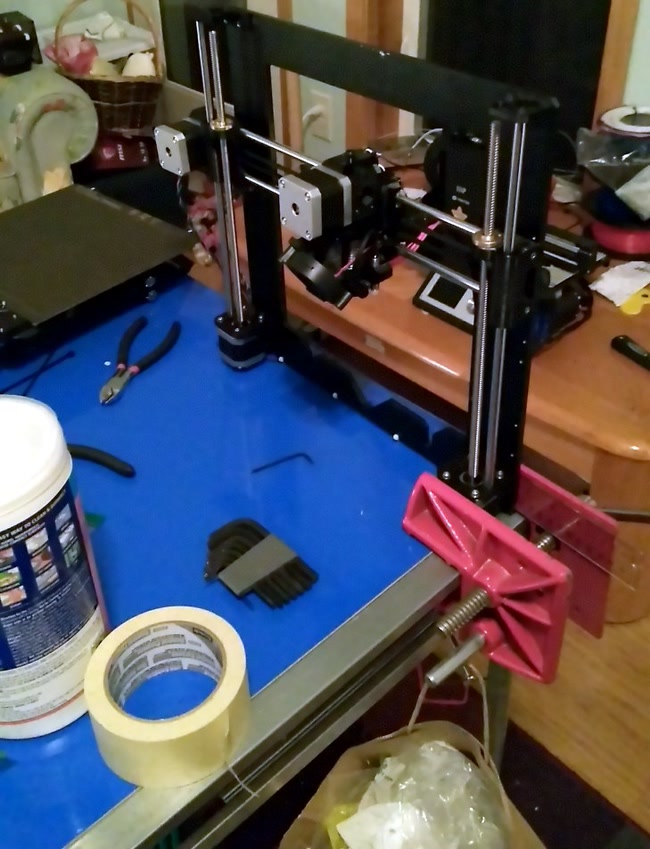
For the most part, I followed a mix of the the official MK2S assembly instructions and the MK2S to MK2.5 upgrade guide. At the time I built the printer, the MK2.5 was the most recent version of the i3, except for the MK3. It’s a little weird to build a MK2.5 from scratch since the MK2.5 is meant as a conservative upgrade to the MK2 printer (when upgrading a MK2 to a MK3 very few components can be reused), but my Printrboard didn’t have Trinamic stepper drivers (so the printer needed physical endstops) and my friend didn’t care about the benefits of the Trinamic drivers (quieter printing, virtual endstops, more configurability) as long as it didn’t impact the rest of the printer. There was some confusion about which hardware (screws, nuts, etc.) to use in what step since the official instructions assume you have neatly labeled separate bags for each step and not a giant box from McMaster-Carr.
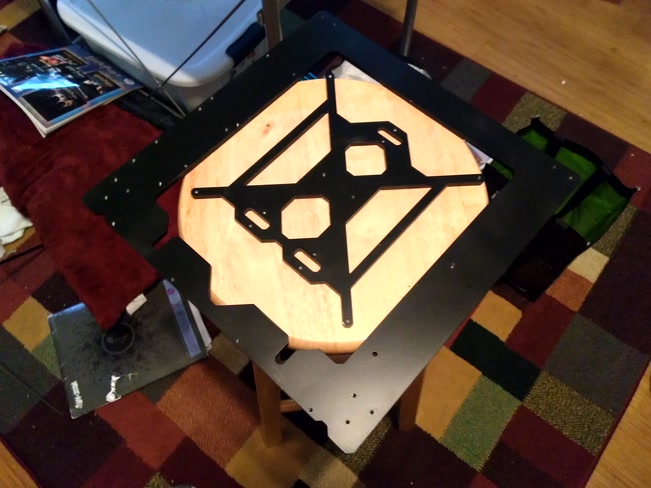
The frame of an i3, back in the days where everyone built their own, was typically laser- or saw- cut plywood for ease of construction. The production model of the printer switched to an aluminum frame early on for stability, precision, and strength benefits so I felt obligated to do the same. Initially I ordered a premade knockoff metal frame from AliExpress, but the supplier reneged and finally admitted they never shipped it more than a month after I ordered. Instead of dealing with Chinese manufacturers again, I custom-ordered the frame from a local fabricator (my mom definitely wouldn’t let me have a plasma cutter!) for around $200. If I were to do this again, I’d have more patience and find a cheaper way to make this frame.
I didn’t pay extra for anodization or powder-coating ($200 was already kind of a ripoff!) so I spray-painted the frame black myself. I had a couple false starts: I scuffed up the surface the first time because I thought the paint would stick better. It didn’t do anything, and even worse, the scratches showed through the paint. I sanded until all the paint was off and the frame was smooth (this took forever!) and tried again. I had to do this whole cycle one more time because I applied too much paint at once (I had only spray painted once before).
By the time the printer was finished there were a couple scratches on the frame, but nothing that couldn’t be covered up with black Sharpie.
Mechanically, the printer was finished by this point. I had a lot of wiring to do, though.
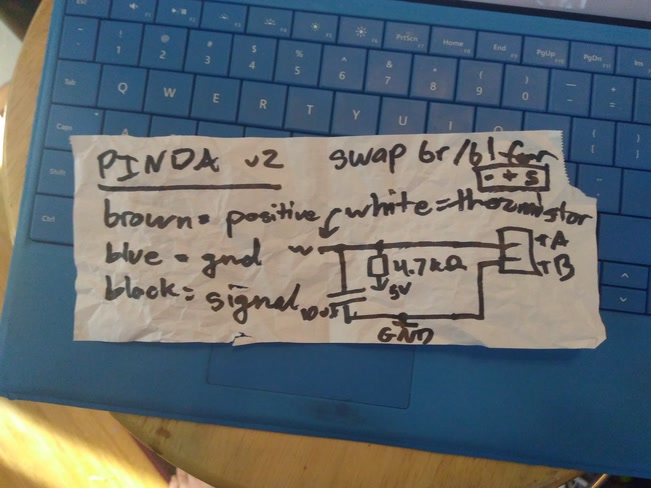
The Printrboard didn’t have the circuitry for some of the sensors of the i3 MK3. I had to look up the schematics for the RAMBo board the official printer uses (fortunately both the RAMBo and the Printrboard are open source hardware) and recreate some of the circuits from discrete components. I was running out of GPIO pins at the end but I was able to cram all the sensors into the spare pins on my board.
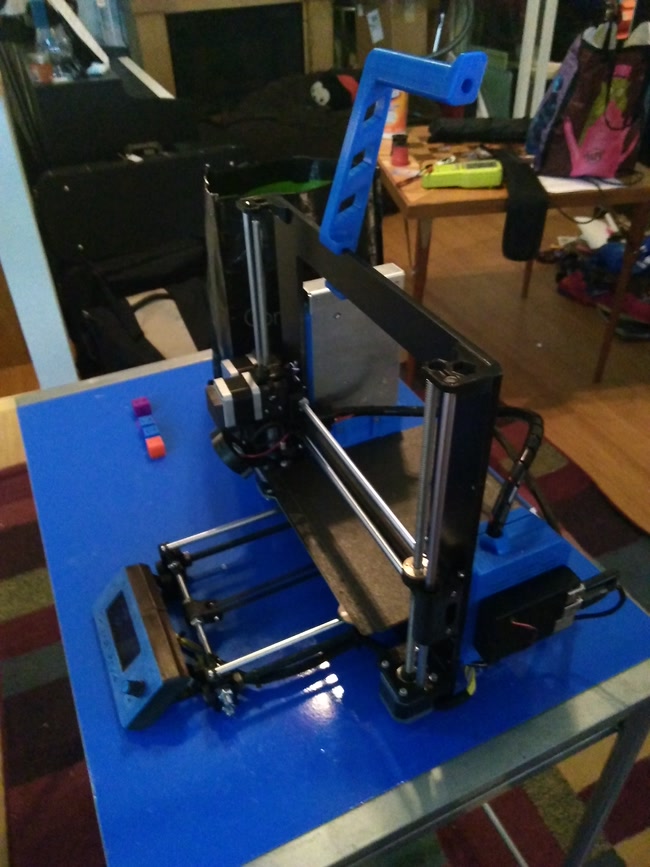
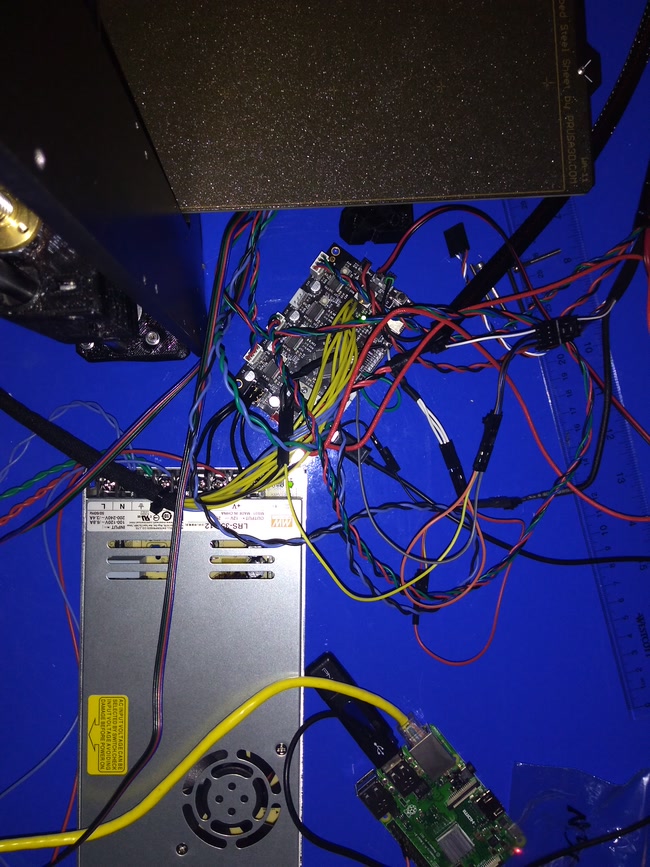
I couldn’t print the enclosure for the electronics (or the filament spool holder, for that matter) on my Monoprice printer because the build area was too small. Instead I wired everything up in a pile on the table long enough to print the spool holder & electronics enclosure, watching carefully with a fire extinguisher close by 🙃.
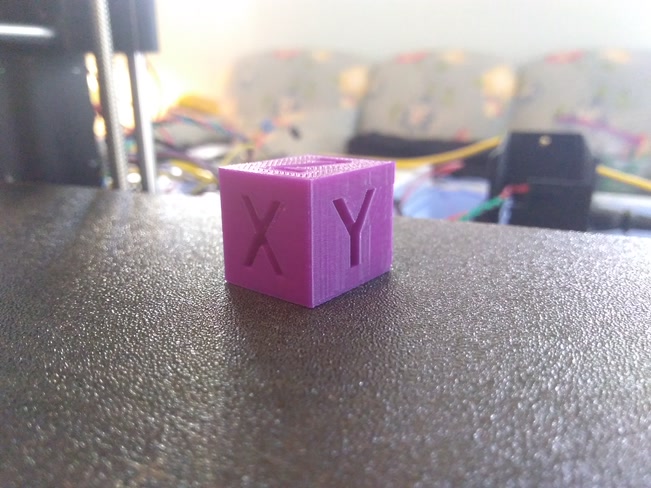
The very first print turned out nearly flawless, except I had misconfigured the Y axis steps/mm so I made a calibration rectangular prism instead of a calibration cube.
Once that issue was fixed, I could print the spool holder. Previously I had been using a screwdriver duct-taped to the side of a desk.
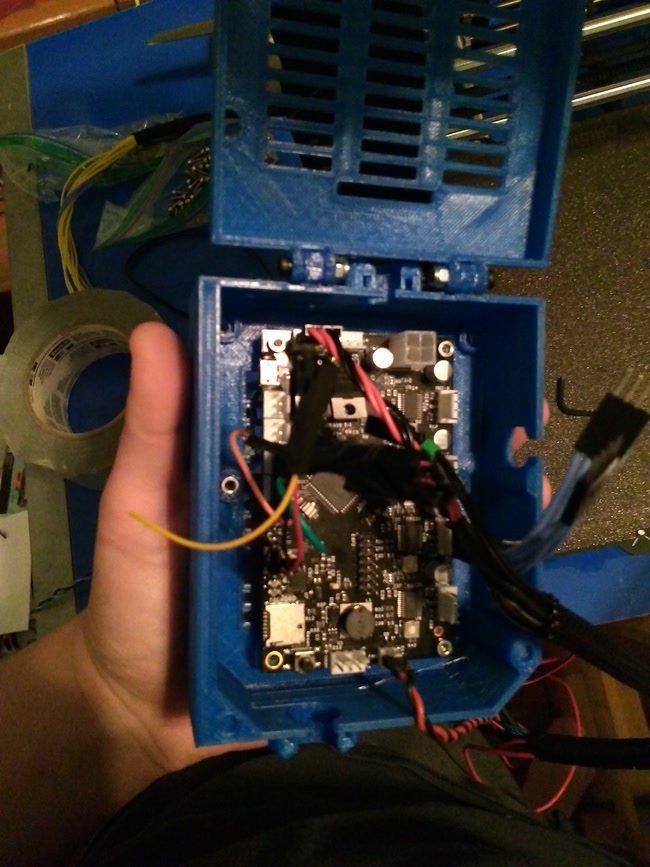
Once I had a better way to hold the filament, I finally printed a case for the electronics. I had to custom-design it because I used a Printrboard salvaged from the old 3D printer instead of Prusa’s RAMBo board. This made the electronics section of the official Prusa assembly guide useless, but this was not my first 3D-printer rodeo.
I had to disconnect all the motors & sensors from the control board to thread their cables through the holes in the case. Once everything was (re)connected, the printer was finally finished.
I tested the printer thoroughly with different prints and finally delivered it to my friend. It was bittersweet to see something I had poured many hours into go, but building one for myself is not out of the picture 🙂.
When all was said and done, I profited hundreds of dollars on this project (I sold the printer for a 10% discount on the retail price, and my only costs were the parts that I couldn’t salvage from the old printer). I also learned a lot about designing mechanical parts and 3D printer assembly. I even had some extra parts I could use to build an i3 for myself since many parts came in packs of ten or five when fewer were needed for assembly.
And even after using up most of my spare parts, I still have some leftover hardware:
Epilogue: should you do this?
Even though you can save hundreds of dollars compared to buying Prusa’s kit (and even more compared to the pre-assembled printer), you probably shouldn’t do this unless you have lots of time, patience, and experience with 3D printers & electronics. Keep in mind Prusa Research has great support (I have nothing against them, I just can’t afford their products 🙃). If you’re not as lucky/careful as I the printer might not work well on the first print. This could be very hard to debug. My experience with the MK2.5 may not translate to newer models; the MK3 has more parts custom-manufactured for (or by) Prusa Research that will be harder to get somewhere else more inexpensively, and I have never touched the MK3S or MK2.5S (they didn’t exist at the time I built this).
I, of course, have an entire summer to kill and money to spare from selling this printer, and now I know exactly how to build it 😀. So I’ll probably do this again—if not with an i3, with a 3D printer of my own design.
If you haven’t been put off doing this altogether, you may find my parts list useful. Unfortunately I don’t have streamlined assembly instructions, but should you have everything on this list you should be ready to build the printer.
"ORIGINAL" PRUSA i3 MK2.5 PARTS LIST

INCLUDED IN MK2/S TO MK2.5 UPGRADE KIT (https://shop.prusa3d.com/en/printer-upgrades/179-original-prusa-i3-mk2s-to-mk25-upgrade-kit.html)
======================================
✓ 1x 12V MK52 heatbed w/ PEI build plate
✓ 2x Bondtech extruder gears
✓ 1x PCB filament sensor
✓ 1x P.I.N.D.A. 2 w/ thermistor
✓ 1x 5v Noctua fan

HARDWARE
========
✓ 1x Official Prusa MK2S Frame (https://shop.prusa3d.com/en/mk2-spare-parts/24-frame-set-for-mk2s-y-carriage-and-main-frame.html)
✓ 22x M10 nuts (black oxide finish)
✓ 20x M10 washers (black oxide finish)
✓ 2x 350mm M10 threaded rods (black oxide finish)
✓ 2x 8mmx330mm smooth rods (https://www.ebay.com/itm/122337495952)
✓ 2x 8mmx320mm smooth rods (see above item)
✓ 2x 8mmx350mm smooth rods (see above item)
✓ 3x M3 20x16 U-bolt or printed alternative (https://www.thingiverse.com/thing:1819779)
✓ 6x M3x40 screw
✓ 7x M3x30 screw
✓ 4x M3x25 screw
✓ 3x M3x20 screw
✓ 31x M3x10 screw
✓ 5x M3x8 screw
✓ 6x M3x12 screw
✓ 10x M3x18 screw
✓ 4x M2x12 screw
✓ 2x M4x10 screw (dome head)
✓ 16x M3 square nut
✓ 20x M3 washer
✓ 22x M3 standard nut
✓ 2x 623h bearing housing or equivalent (https://www.amazon.com/dp/B01H3FNZ4M)
✓ 4x M3 nyloc nut
✓ 5x NEMA 17 stepper motor
✓ 3x endstop lever switch, cabled, NC (https://www.amazon.com/dp/B01LZV8501)
✓ 10x LM8UU bearings or equivalent (https://www.amazon.com/dp/B06XPRCMJS + few working bad ones for Z-axis)
✓ 2x 16T GT2 5mm bore 6mm height pulley (https://www.amazon.com/dp/B072JGMK7X + working one)
✓ 1x ~3m polyethylene wire wrap tube (https://www.amazon.com/dp/B01LYF1GDV)
✓ 1x ~2ft nylon mesh conduit (https://www.amazon.com/dp/B01N1JP7AD)
✓ 100x medium black zip-ties (~150mm)
✓ 1x ~2m GT2 timing belt (https://www.amazon.com/dp/B071K8HYB4/)
✓ 2x extruder spring (https://www.amazon.com/dp/B077X9RSSB)
✓ 1x 5015 radial blower fan (https://www.amazon.com/dp/B071WMHNG5)
✓ 1x 12V/240W power supply (w/cover) (https://www.amazon.com/gp/product/B01A80YG9W/ for direct replacement, or https://www.amazon.com/dp/B07BH1FTYP, better/more expensive)
✓ 1x RepRap 2004 LCD & controller (be sure to check orientation for the LCD plug!) (https://www.amazon.com/gp/product/B015NDAKE4)
✓ 1x E3D V6 Full heatsink
✓ 1x E3D V6 heatbreak (https://www.amazon.com/dp/B077Y2MHW8)
✓ 1x E3D V6 heater block & sock (https://www.amazon.com/dp/B01MZE1W0J)
✓ 1x E3D V6 brass nozzle (https://www.amazon.com/dp/B071PB1R72)

3D PRINTED PARTS (WITH DUPLICATES NEEDED)
=========================================
✓ 4x Y-corners
✓ 2x Z-screw-cover
✓ 2x extruder-cable-holder
✓ 4x LCD-cable-clip
✓ 1x everything from the MK2.5 upgrade @ https://www.prusa3d.com/prusa-i3-printable-parts/
✓ 1x every other printable part from the MK2S @ https://www.prusa3d.com/prusa-i3-printable-parts/ (some are replaced by the MK2.5 parts)
